Ensuring that the information entered into your spreadsheet is accurate and consistent can save hours of cleanup later. Excel’s data validation features provide a built-in way to restrict the type of data users can enter into cells, display helpful messages, and prevent common errors such as typos or invalid values. In this article, you will learn how to leverage these tools without feeling overwhelmed by complex formulas or advanced settings.
Understanding the Validation Dialogue
To begin, select the cells you want to protect and open the Data Validation dialog from the Data tab. The main section lets you choose the kind of rule to apply—such as whole numbers, decimal values, dates, or text length—and automatically enables you to specify minimums, maximums, or exact matches. Behind the scenes, Excel creates a rule that evaluates each entry, allowing only those that meet your criteria to remain.
Once a rule is in place, you can tighten your control by configuring an input message that appears whenever a user selects a validated cell. Rather than relying on a hidden comment or an external guide, the input message appears directly beside the cell, reminding users what kind of entry is expected. For example, if you are collecting product quantities, you might prompt “Enter a whole number between 1 and 100” so that no one attempts to type letters or values outside the desired range.
Crafting Helpful Error Alerts
Even the most careful user can slip up, so Excel allows you to choose how to handle invalid entries. The Error Alert tab in the same dialog offers three styles of feedback. A Stop alert blocks the entry altogether, returning the user’s focus to the cell until they correct it. A Warning alert lets them override the rule if needed, which can be useful when exceptions are expected. An Information alert simply notifies without preventing the entry. By matching the alert style to the importance of the data, you guide the user toward compliance without creating unnecessary friction.
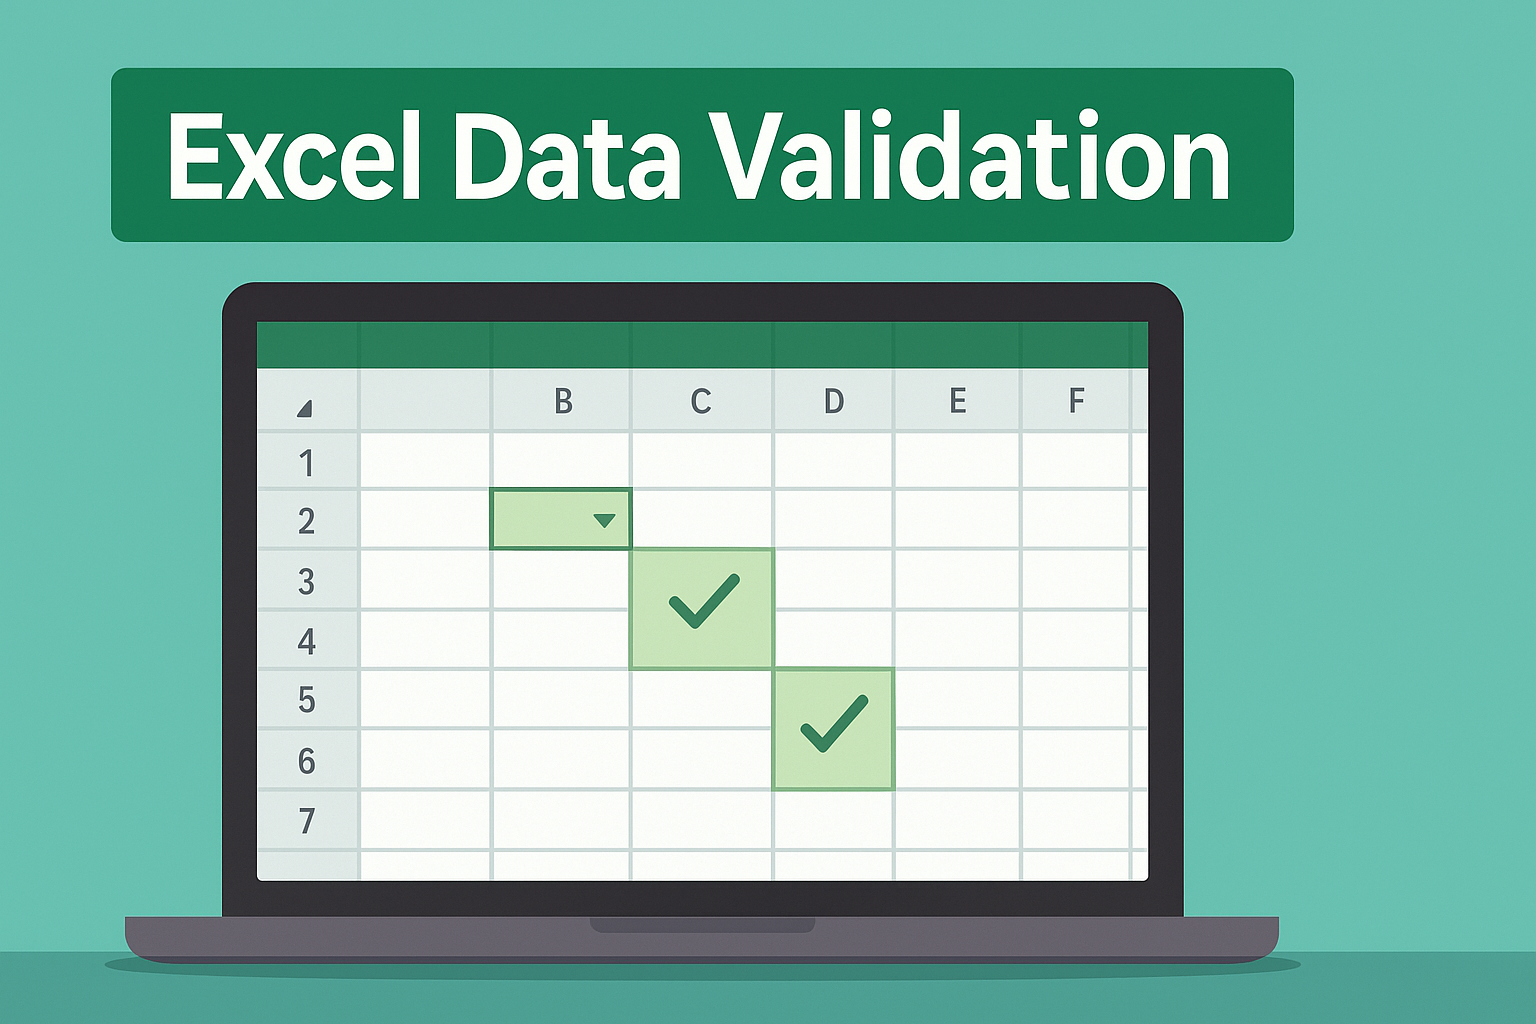
Creating Drop-Down Lists
One of the most powerful and user-friendly validation options involves providing a predefined list of valid entries. By setting the Allow type to List and pointing the Source to a range of cells (or typing comma-separated items directly), you turn the cell into a mini menu. This approach prevents spelling mistakes, keeps categories consistent, and speeds up data entry. In a budget tracker, for instance, you might list expense categories—such as “Rent,” “Utilities,” “Groceries,” and “Entertainment”—so everyone on the team uses the same labels.
Applying Date and Time Rules
Validating dates and times ensures that your schedule or timeline calculations behave predictably. You can restrict entries to fall within a given window—for example, forcing project start dates to land within the current fiscal year—or require that due dates remain in the future. Excel interprets dates and times as serial numbers, so you can use built-in comparators such as “greater than” or “between” to enforce your requirements. If you need a more flexible solution, custom formulas can dynamically compare a date cell against today’s date by using the TODAY() function.
Using Custom Formulas for Unique Needs
When the standard options aren’t enough, the Custom setting unlocks the full power of Excel’s formula language. For example, you might allow entries only if they match a specific pattern—such as requiring employee IDs to begin with two letters followed by four digits—or prevent duplicate entries in a column by comparing each cell against the rest of the range. A validation formula returns TRUE for allowed values and FALSE otherwise, and can reference helper functions like LEN(), LEFT(), COUNTIF(), or ISNUMBER() to implement complex rules without any VBA coding.
Best Practices for Validation
Before rolling out your validation scheme, test each rule with a variety of inputs to confirm that it behaves as expected. Remember that copying and pasting values can bypass certain validation checks, so you may need to lock down the worksheet or use an event-based macro for mission-critical scenarios. Consistent use of input messages and informative error alerts prevents confusion and reduces the likelihood of bad data sneaking in.
By taking advantage of Excel’s data validation capabilities, you make your workbooks more robust and user-friendly from day one. Whether you’re managing budgets, tracking project milestones, or compiling survey responses, these techniques help you maintain accuracy and clarity without relying on manual cleanup. Once you grow comfortable with the basics, you can explore dynamic lists, validation-driven formatting, and even VBA-powered protections to elevate your spreadsheets to the next level.